
I know it's a little early to start thinking about Christmas, but after a few friends suggested I try selling some of my projects, I decided I'd maybe give a craft fair a go. While that isn't something I'd normally be into, I thought it could be fun to see if someone would actually be interested in the things I make. Fortunately, my mom agreed to do it with me so it's a little joint venture for the two of us. I think it might be fun!
Since the craft fair is in early November, I'm guessing folks will be on the lookout for Christmas gifts and decor. With hopes I'm right, I've started making more wreaths, and decorating other goods I plan to sell.
Meanwhile, there's been some extra wood laying around in our garage and I've been wondering what I could do with it. It's big, and thick and could probably stand up on it's own. That got me thinking it'd be cool to put a cute saying on it, maybe something Christmas-y??
But then there's the problem of my handwriting which I'm pretty sure was nice at some point in time. But now appalling would be a more appropriate word to describe it. Even my husband shakes his head and often asks me to interpret the notes I've left for him. If I didn't put pictures of my kids on my Christmas cards, people probably wouldn't know who they were from.
So ... I started looking at stores for stencils but they really didn't come in anything I wanted. And the thought of spelling something out letter by letter requires a smidge more time than I wanted to give. This lead me to etsy.com to find someone who was already doing stencils - custom.
I happened across a shop called Sam's Town Designs, owned by a lovely lady named Tracey. She worked with me to do three different designs, and I got to choose from a variety of fonts, laid out in proofs so I could see what I was buying before the deal was done. I got three sayings in all for only $20, an excellent price in my opinion.
The one I used in this project was "jingle all the way." Who doesn't love that song? (You're singing it now aren't you???)
I took the stencils as they were and I marked off the right height that I needed on the scrap piece of wood that I mentioned earlier. Then I used a t-square to mark off the lines to make sure it was straight (as I'm typing this my husband says the use of this was extreme as it's typically used for drywall ... whatever).

I planned to use three different pieces so the person who (hopefully) buys them can move them around (stack them vertically, horizontally, however they'd like). Then, I got to use the saw of all saws. It's a radial arm saw and it means business. Check this out.

I know, right? It's massive, and scary and intimidating. And probably overkill.
But that's neither here nor there. Okay, so once the pieces were cut I used the new sander my mom bought for me to sand down the edges (who knew I'd someday think a sander was an awesome gift??). If you've been following this blog, let me say this one was "electric, definitely electric."


Then I laid the stencils down and used a sponge brush to dab white paint over the stencil, trying to be careful not to use too much as I didn't want it to bleed underneath.


When I was done, they looked like this. Pretty.

I liked the simplicity of them but things tend to get kicked up a notch around the holidays so I decided to add a little extra detail to the small "all" block. I took one of those small Christmas decorations usually used in wreaths, fortunate enough to find one in a similar gold/silvery color.

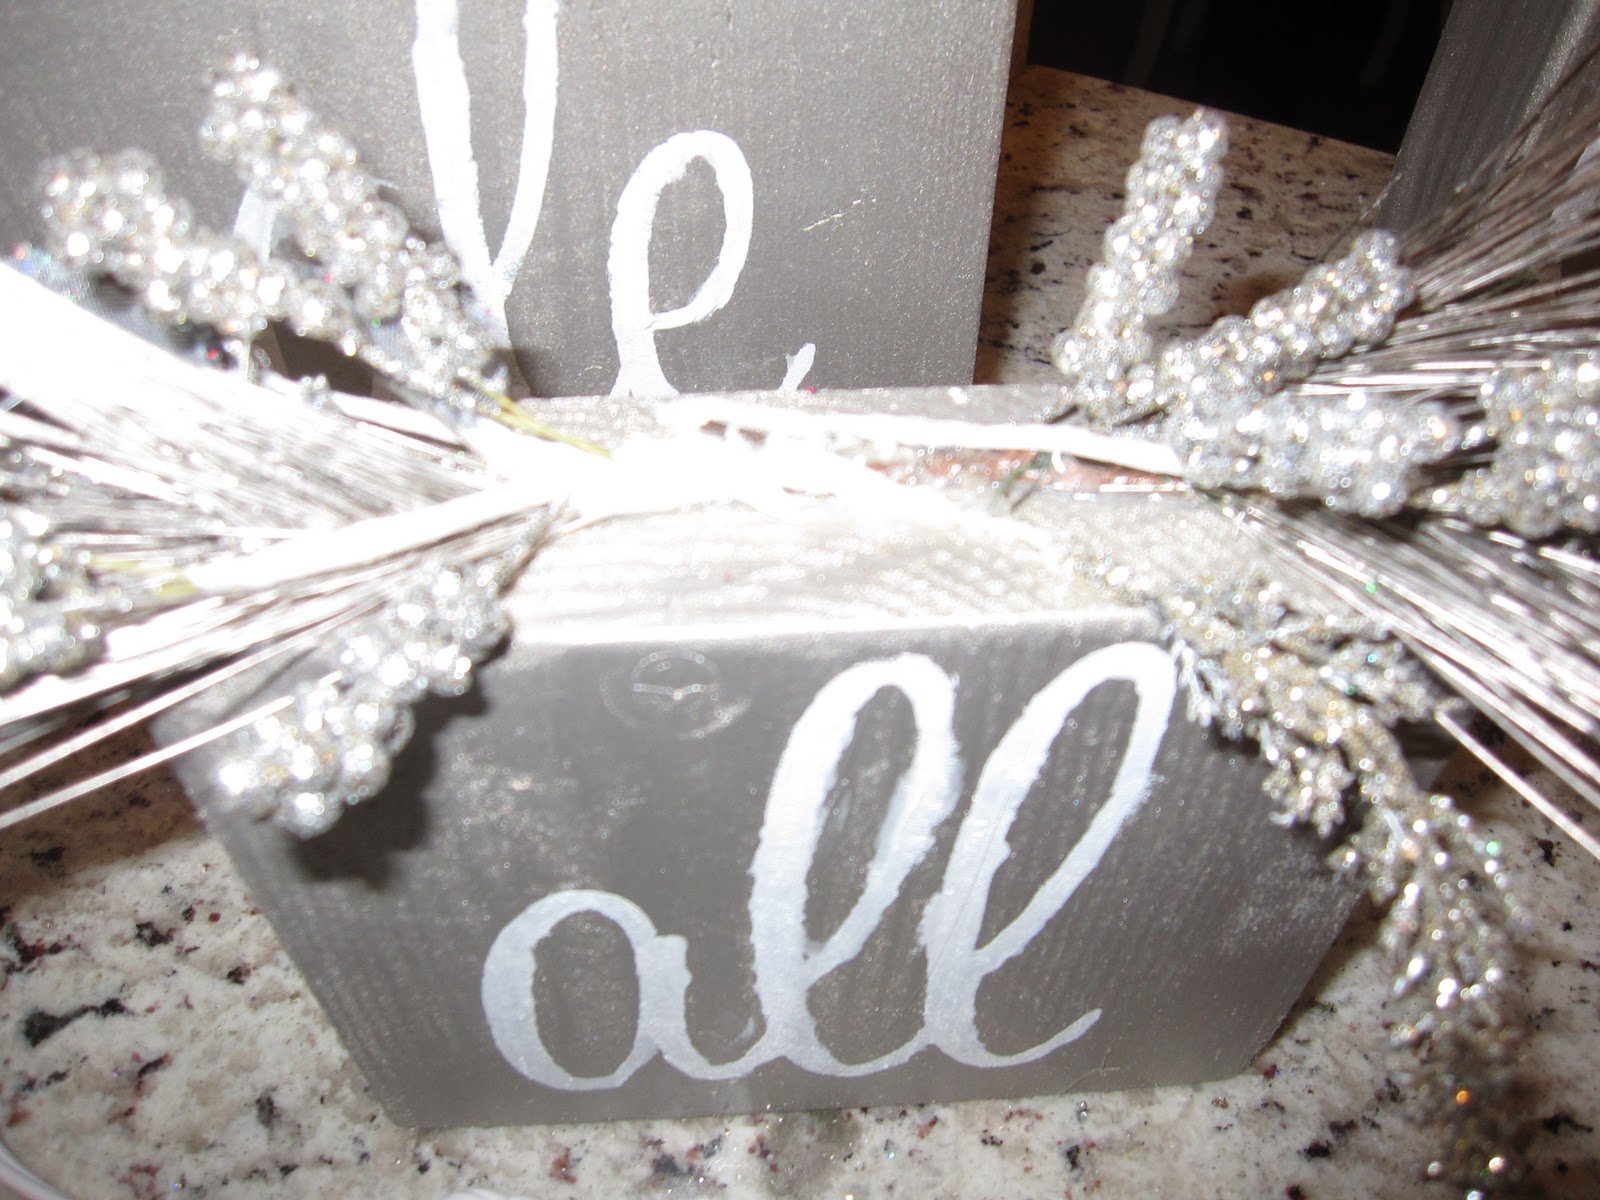

And presto! Done.


More stencil projects to come ...
No comments:
Post a Comment