Our house was built in the Craftsman style, something that's apparent from the outside, and not at all from the inside. Since my husband and I tend to gravitate towards bright white trim versus the woods more commonly seen in this type of home, this particular treatment seemed like a great option for us.
I had seen this done DIY style by other bloggers, namely Centsational Girl, a blog I recommend visiting if you never have. You can visit this link to see one of her b&b projects.
For us, we looked at the entire space I've considered doing this to (from our entryway to the laundry room) and I think we were both overcome by fear. I never really know if the ideas in my head will translate well in real life and the idea I could actually ruin the walls for our 1 year old home was a bit daunting. So we settled on the short wall between our garage door and laundry room ... a place to test and learn.

The wall isn't very long and it's the place I wanted to use for the backpacks and coats anyhow. Even though there's a coat closet directly across from it, my bambinos haven't mastered the art of a hanger yet so a hook is simply more practical at this point in our lives.
So we started with some measurements along this wall and were off to Home Depot. When we returned, we had the following:
- (1) 1/8 thick 4' x 8' board to disguise the orange peel texture on our wall (cut down to size at the store)
- (2) 8' x 2" x 5/8" thick primed (white) mdf for the vertical boards
- 1 primed (white) wood trim piece for the top (cut to size) - this was priced by the foot so we only bought what we needed
- (1) 8' x 6" primed piece of wood to make a new base board that would be wide enough so the vertical boards wouldn't extend over the bottom (you'll see what I mean later)
- Primer (for the brown back-board)
- 1 tube of adhesive to glue the back-board to the wall
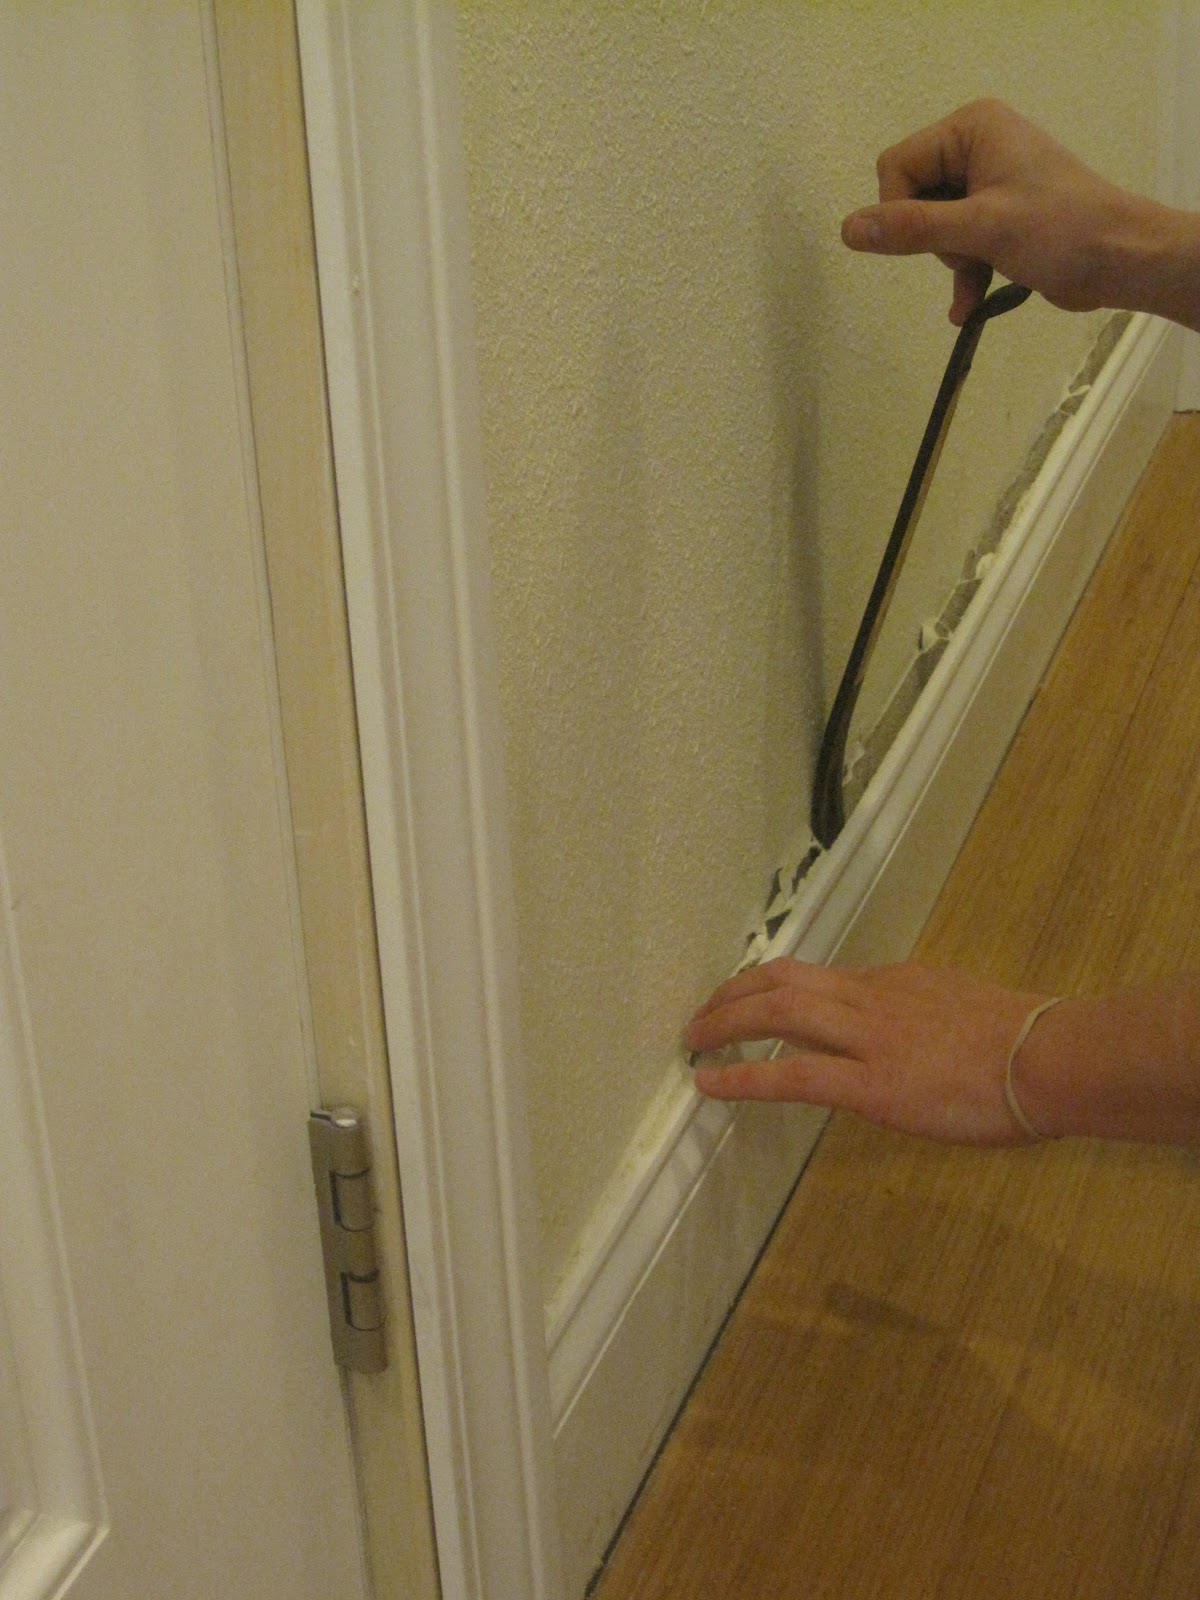
Then we brought in our back-board and and slipped it in place. Because the fine people at Home Depot already cut it to the right length (we kept the 4 ft. height as-is) we were cooking with gas. The fit was right so my hubby added some of our adhesive, put it in place and smoothed it out over the wall's surface. Then he put a few nails in place to ensure it was set.


After that, the pre-cut trim piece was nailed in place, followed by the baseboard below. To prepare that, I got my primer out and primed the back-board.


When that was dry, we measured again for the vertical pieces that would add some detail and cut those as well. They hung out a bit from underneath the top trim piece so we notched those and nailed them in place. When the nail holes were puttied, then the final trim was added along the baseboard and I painted everything white. (And with everything cleaned up and out of the way, we could open the door to the laundry room to let in some natural light!)

Then we repeated the wait-to-dry process and when ready, we added the hardware and called it a day. All in all, this project was relatively simple. Because most of our materials we're measured and pre-cut when we got home, assembling everything took only about an hour. Adding in some dry times, we probably had this complete in under 2 hours.

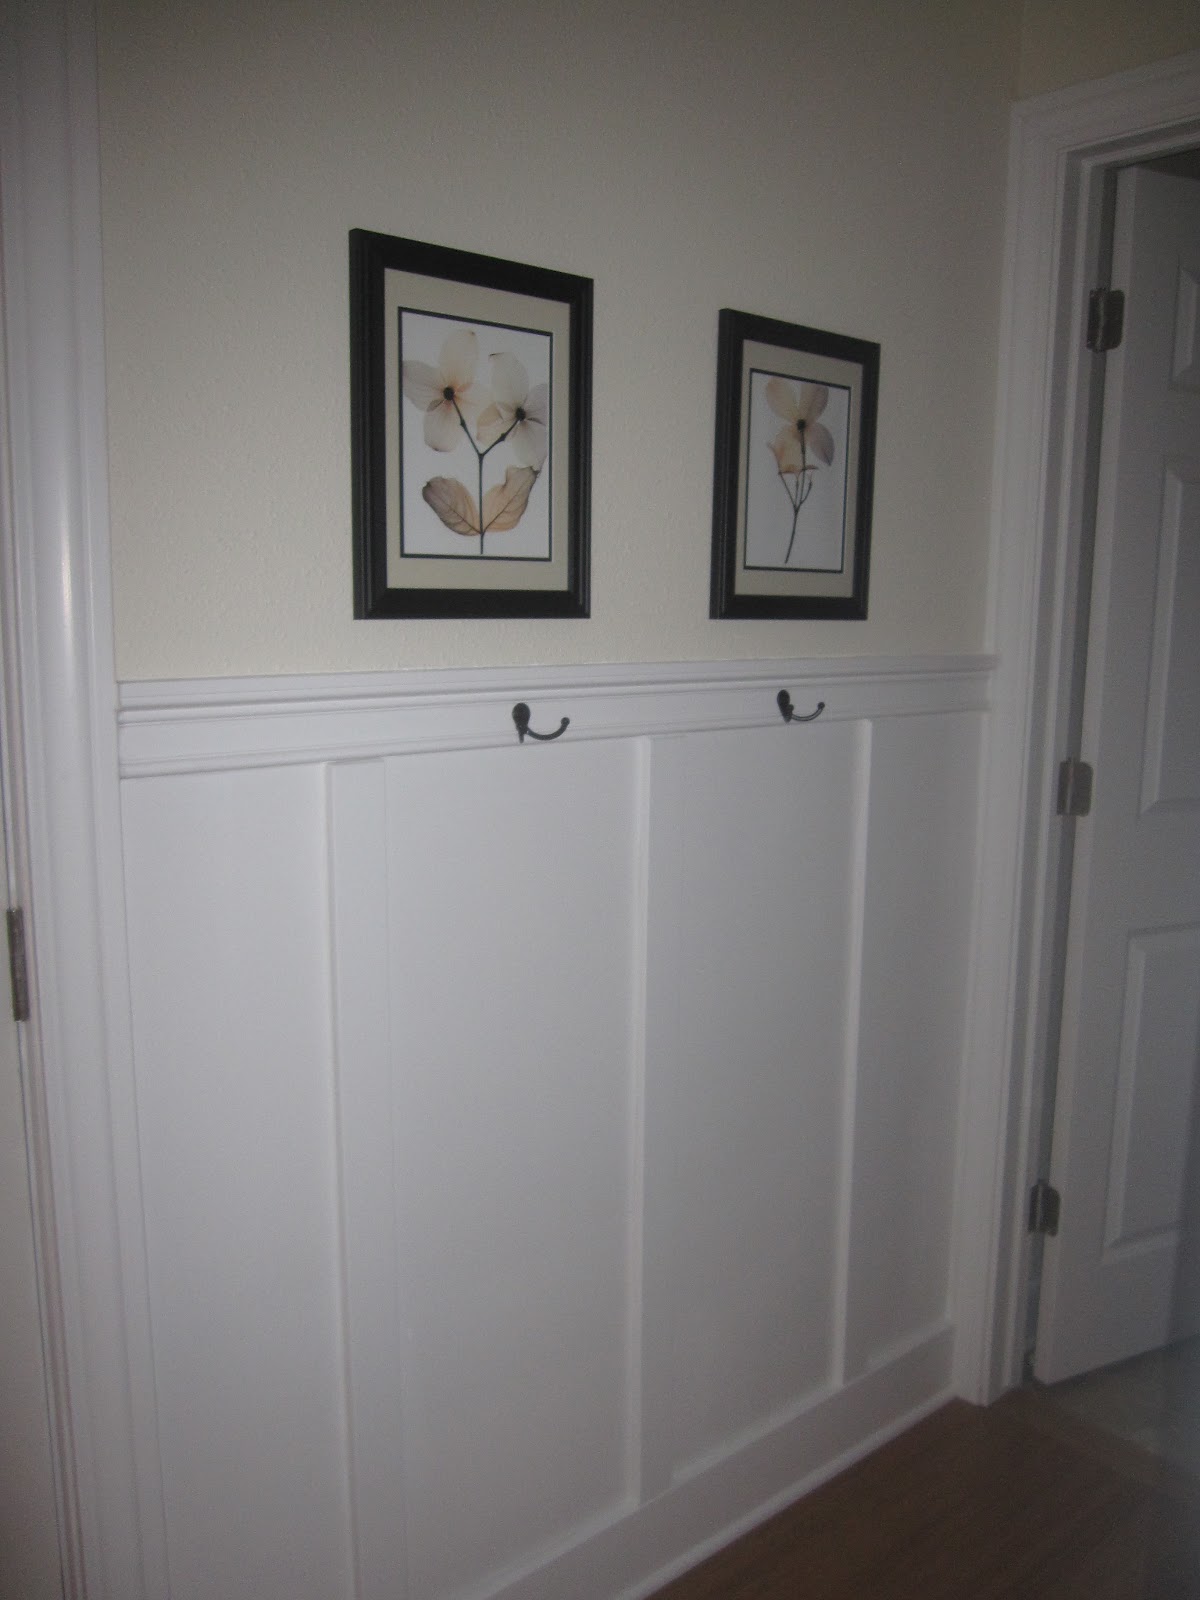

Now to decide if we do more?? For now, we're really excited with how this turned out and love the added character and functionality it affords us! *whew*