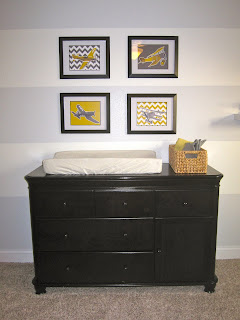
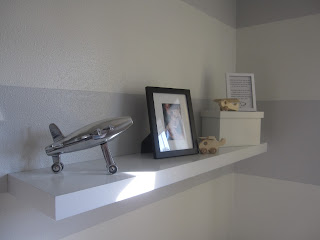
With the dresser in place, I was able to hang the airplane pictures I framed the week before and begin to add some accessories to the shelf that we rehung in the room.
I also spotted these little airplane hangers at the store and though they weren't in my colors, they'd work well after a little visit from the spray paint fairy. I got out a can I already had of Rustoleum's Warm Yellow and gave them a dusting.
I thought they could work well under the white shelf ... an area I plan to fill with more pillows and then make into a reading corner later.
To utilize the plane's "propeller hooks" I picked up some simple canvas bags that were a couple bucks each and some white puffy fabric paint. I had a stencil already which I ended up just using for reference as the puffy paint didn't work really well in the letters.
In the end, I just free-handed the words "BOOKS" & "TOYS." Later, my son and daughter are going to help me fill them with goodies they'd like to give to the baby from their own libraries and toy chests.
Sorry ... weird yellow coloring going on in that photo. The one below is better.
Nifty, right?
Besides these simple hooks, one of my favorite projects for the room was incorporating a world map art piece that I wanted to make for above the crib. I don't want the room to be all airplanes, rather I'm trying to incorporate other elements that are just a logical tie. A map fit the bill.
That said, when I looked at regular maps or contemplated the idea of framing them, the idea didn't feel quite right. What I really wanted was something three-dimensional ... and unique.
So I came up with a plan and headed to Michael's Craft Store for supplies. I came back with the following:
- 1/2" thick white foam board
- World map print
- Utility knife
- Marker (from home)
To get started, I began loosely cutting out the countries ... or really continents for that matter. I didn't cut too close because what I really just wanted was to get the general shape. And I wanted the shapes of each to be bigger than those in the map I purchased (I just bought what they had).
As you can see by the pile of scraps below, there were several countries that didn't make it. If you were an island, you were sadly left behind.
Next I laid each of them out and again, loosely traced a line around each. Let's just say this is an "artistic representation" of the world we live in. It's not going to win any awards for being realistic--or accurate for that matter.
Once those were done, I had an outline of each to cut out. And don't ask what happened to Australia. I was having some troubles there. I also have to comment that I'm positively baffled by the size of Greenland. Who knew??? It's as though I went my whole life without knowing the Pope was Catholic. I'm just utterly astonished by the size of it.
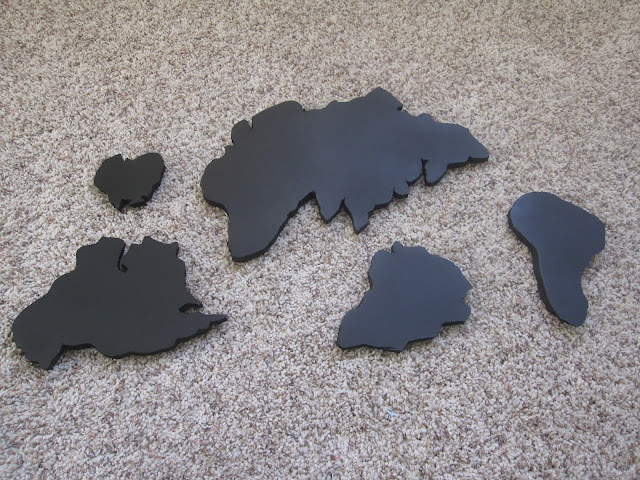
Anyhow, after putting my utility knife to work, this is what they looked like. See 'em? Right below that enormous shadow. *sigh* Will my photography never improve?
Okay, so next step was to paint these black. Once again, I used spray paint: Rustoleum Flat Black.
And then I hung them above the crib. I was planning to use 3M strips but couldn't find them so opted for nails. Which was a so/so idea because I couldn't quite get them in the right spot at first so now there are more holes than I'd like to admit to. Would you like to know just how many holes? Can't tell you. Someday my husband may actually read this blog.
BEFORE:
AFTER:
With that, I think I'm 85% of the way there! So excited.


