The first step was to take off the original fabric and to do that, I start with the trim. I used a flat head screwdriver and a hammer to get under the first piece and from there I use a pliers to pull it off. As much as possible, I try to get the staples along with it.
I also take lots of pictures as I go because it's incredibly helpful when you need to put it back together. I always work backwards from the way it was put together.
Once the bottom was off, I started with the top. Here I took even more pictures because this was the part I knew would be most difficult to figure out when it comes time to recover everything.
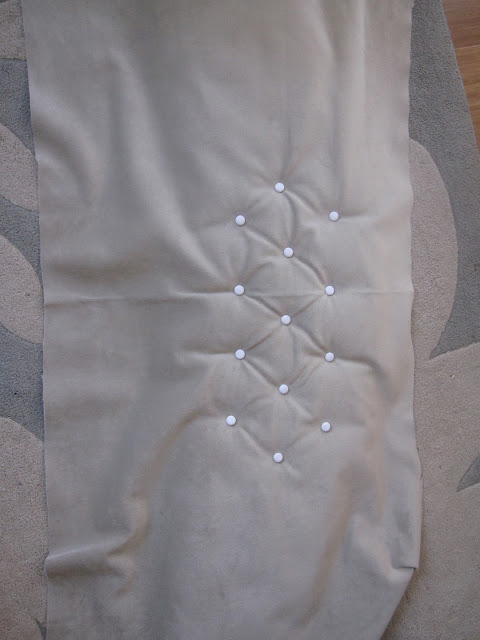
Then I had to use a pliers to painstakingly pull out every one of these little buttons used to create the tufted look. Note to self ... count these before buying the chair next time. This one has 40 and over the course of the weekend, those 40 little buttons nearly drove me to the point of insanity.
Once that was all off, the chair looked like this ...
And the foam like this ...
When I had the last bit of fabric removed, I was down to the bones. And I must say, they do look great.
I then roughly sanded the chair. And if I had looked closely at this picture before painting it, I would have noticed I did a very bad job. There were little circles all over the wood from the sander and those marks were only highlighted after it was painted. So that had to be done ALL OVER again. Not fun.
Thankfully my husband actually resanded everything for me. Life saving. I just didn't have it in me.
Meantime, I headed off to the fabric store and came back with two different kinds. I took measurements before I went which allowed me to save a lot of money. That top fabric is $40/yard. A LOT. But because I knew I only needed 24"and was able to use a 60% off coupon, I got it for about $10.
The second fabric is a micro suede which I think will wear nice since this is going to a house with kids. I'll add a fabric protector near the end but these fabrics tend to clean up pretty well.
Both are in a soft grey which should help the chair to feel more contemporary.
I saved the bottom piece of the orange chair and used that to roughly cut out the fabric for the cushion. And I used the foam back to gauge what I'd need for that.
I then purchased these button covers to use for the tufting. And this is when I neared meltdown number 2. This was the only option I could find locally and they do not work great. The materials are flimsy and they don't go together well. I lost an entire pack to the garbage and lots of time and effort.
What I did end up with after an hour and a half was about 15 of the 40 buttons I need. So I'm just taking this part slowly. I'll do a handful each day until I have everything I need.
It also took me a bit to figure out the best way to sew them on but I have that part pretty well squared away. If I can just get the buttons themselves down, I'll be cooking with gas.
Effort aside, I like how they're looking.
I also like the way the wood is looking now that it's darkened up. I think the gray is going to look really great with this dark walnut color.
Hopefully I'll have a fully assembled chair to show you by next weekend!


