Sunday, November 27, 2011

Merry & Bright Christmas Decor


With Thanksgiving behind us, the Christmas music in full swing and a long weekend to get stuff done, it was officially time to kick off my Christmas decorating!

To give my house a nice, pulled-together look, I've been gradually moving in the direction of a Christmas color scheme each year. This particular season, I've been liking the idea of chocolates, golds, champagne and lime green. Generally speaking, I recommend a minimum of three colors that you'll repeat throughout your space. So if you traditionally like red and white, consider adding silver or a deeper, burgundy red. For something contemporary, try white, silver and a pop of bright pink or a cool blue. All combinations that can really be fun.

To get mine started, I pulled out a handful of old Christmas ornaments that fit the bill and scooped up a selection of new items on Black Friday. I tried to stick to the shatterless ornaments in various colors and textures (glittery, matte, etc.). I also picked up some glittery snowflakes from target, $1/4 and stopped at a dollar store as they sell sleeves of ornaments for a buck ... a great option if you don't want to spend a fortune but are looking to change things up.

For the basis of my fireplace mantel, I also picked up real red cedar garland. I like cedar because it's soft, not sticky from sap and tends to lay very nice on flat surfaces. You'll generally find these garlands (often used in outdoor spaces) at DIY or home improvements stores like Lowe's or Home Depot. I got mine for $14 or $15 at Home Depot (20 feet). If you've been thinking of using the faux stuff, consider giving this a try.

After I cleared the mantel, I laid down an extra piece of fabric to give the garland a bit more height. There's a short "lip" on my mantel and I wanted to make sure the garland would sit well above that.


Then I cut a piece of garland that would span the length of my mantel, plus an extra 12-18 inches on each side. Since the garland all lays in one direction, once I got the main piece in place I began cutting shorter pieces to layer in the opposite direction, filling in any spaces that were a little more bare and making sure I had strands that laid down in front of the mantel.

Next, I took some pretty brown beads I had found and did two swoops in the front, simply taping the ends to the mantel. I followed that with another swoop of lime green beads. This provide a little extra glam in front, and would be framed up nicely by the stockings I hung later.

Then I began layering in ornaments of various sizes. I simply nestled them into the branches, changing up the colors and placement ... though not necessarily with any grand plan in mind. If there was a bare spot, it got an ornament. And because they were just sitting there, I had a handful that crashed to the floor (remember my recommendation for the shatterless type, well case in point...) but were quickly swooped up and put back in their wintery home. Thank you, oh creator of real-looking plastic ornaments!
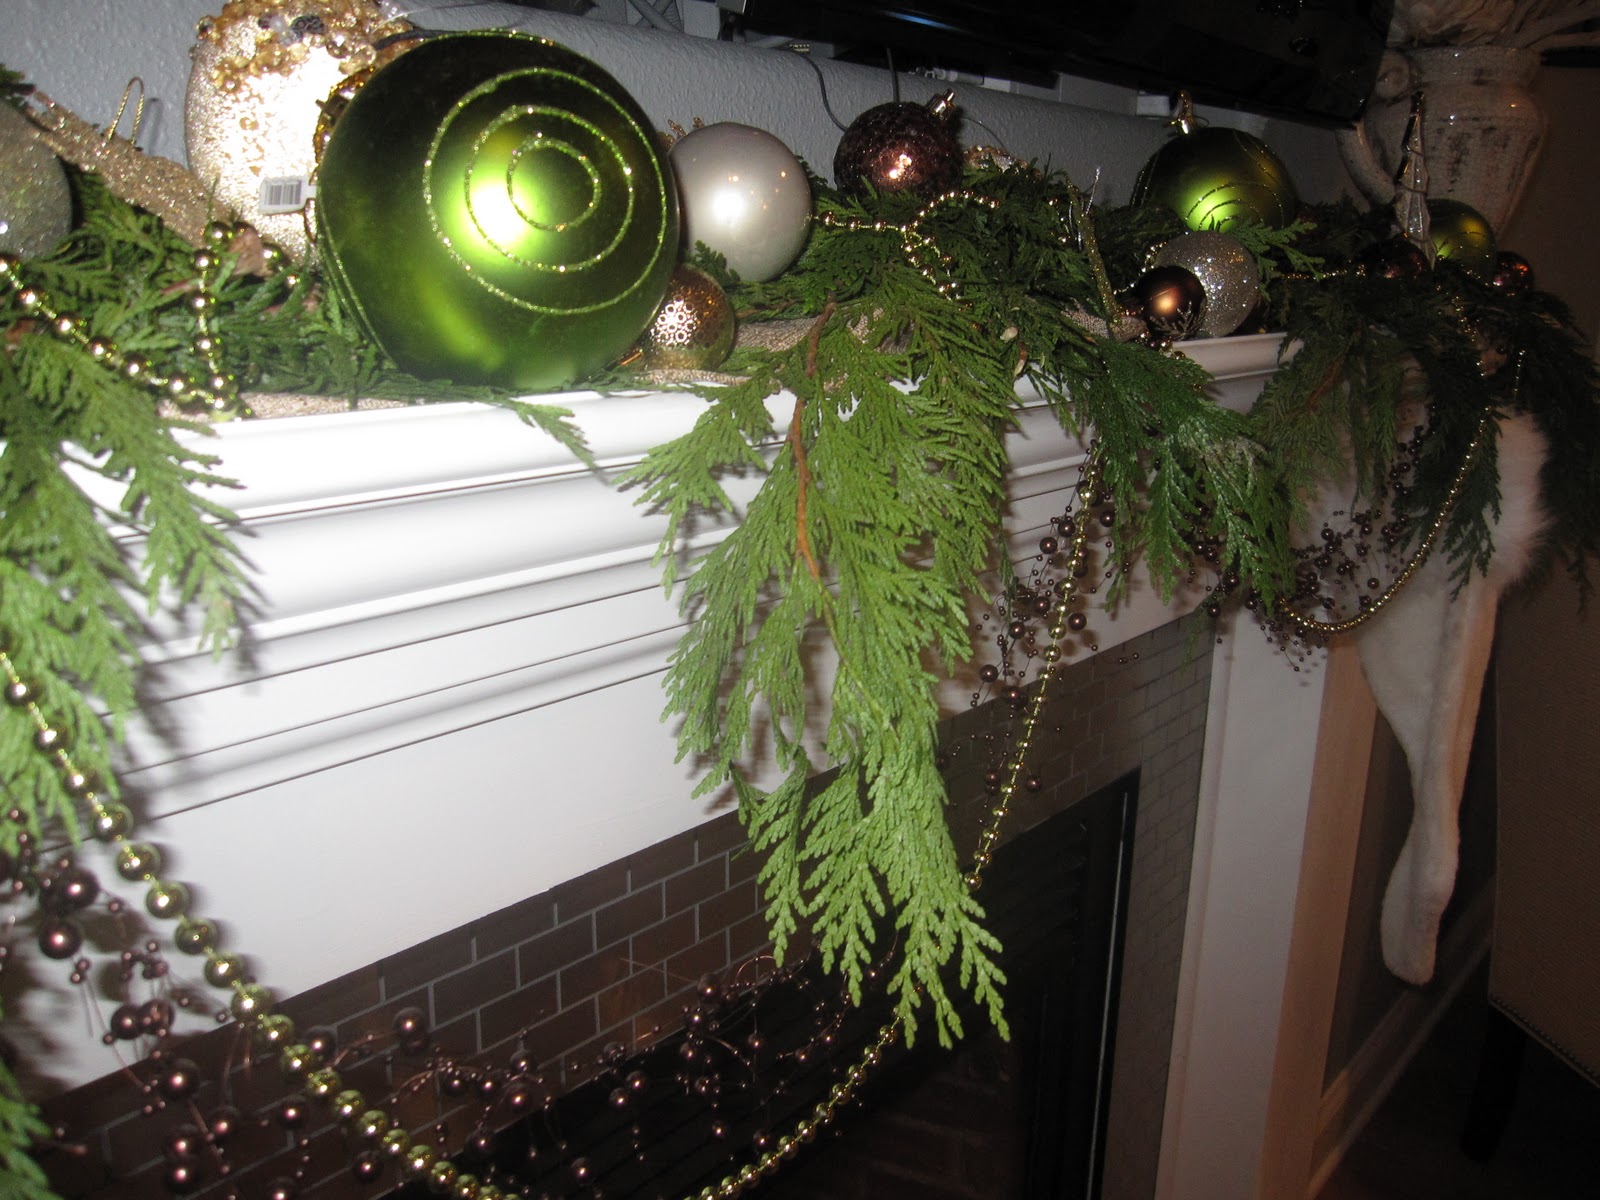


I kept a vase with Manzanita branches on the right side of the fireplace for height. These branches live there year round, but this guy got dressed up with a few of the smaller round ornaments and a few snowflakes too. On the other side, I added three glittery trees in brown and gold ... scores from the after-Christmas sales last year. Note you can order manzanita branches from a multitude of places online (or you can just find some sticks or check out other retailers that sell faux branches, e.g. Crate and Barrel has white this year).


Whether you're decorating a fireplace mantel, dresser, sofa table or any other surface, there are some simple design rules you can follow for some bigger items you add in addition to your garland. One, you can do something symmetrical, using objects that match exactly on each side which will easily balance your display. The other option is to do one item on one side, and three on the other. Generally speaking, the total "volume" of the one item should be equal to the volume of three. Keeping both sides similar in height and width will help you achieve this look. It certainly doesn't need to be exact but putting a pineapple on one side and three grapes on the other isn't gonna do it.

So ... after all that was in place, I added my stocking hangers and stockings, drizzled some lime green beads over the top of everything and snapped some pictures. It's very festive and fun! As a final touch, I wrapped a few odd boxes from around the house in matching Christmas paper, this helped me bring everything together.

Shall we do a before and after photo?

BEFORE


AFTER:

I plan to use the rest of my cedar garland to decorate the buffet in my dinning room. I'll be back with pics from that Christmas update later this week. 


Saturday, November 19, 2011

Beautiful Basket: "Sweet Traditions of Christmas"

I know, I know. My poor, sad, little blog has been sitting abandoned since *gasp* Halloween. Since we're just a few days shy of Thanksgiving, that's pretty pathetic.

But I'm back today, actually with something a little different ... a guest blog! I wanted to share the work of one of my very talented friends, Cheryl. There are some people in this world who really have a gift for, well, gift baskets -- and she's got it!

Just in time of the holidays, we're sharing her most recent creation, a basket she did for a charity auction we do at our work this time every year. The idea is amazing, packed with simple goodies that deliver a very special experience. Whether you're looking to share a pretty basket with a teacher, neighbor, friend or charity, try Cheryl's tips for giving something truly amazing!

Take it away, Cheryl ...


First, supplies!
·        White Basket 
·        Red Crinkle 
·        Tony Bennett Christmas CD
·        Ziploc® Limited Edition Holiday Design Qt. Size Bags 
·        Glade® Holiday Baking™ Candle  
·        Cookie Cutters 
·        Parchment Paper  
·        Wilton Green Color Mist   
·        Wilton Red Color Mist    
·        Wilton Cookie Icing      
·        Holiday Sprinkles           
·        Holiday Dessert Paper Plates     
·        Holiday Beverage Paper Napkins

 Note: Cute black kitty not included with gift basket. :)

Next, the idea ...

"Sweet Traditions of Christmas"


Whether you’re looking to create a special gift for a loved one, friend, or donation to support a charitable organization – there are loads of simple ideas. Here’s one …

Make a memory complete including senses of smell, taste, and sounds to last a lifetime – a fun activity for a crisp winter afternoon or evening.

It’s as easy as gathering Christmas cookie and candy recipes passed down by generations and placing them on decorative recipe cards. Or pick up that Christmas cookie book sitting right under your nose at the grocery checkout aisle.


Include cookie cutters, colored sugar sprinkles, decorations, and packages of holiday napkins & paper plates.

Set the mood by tucking in a scented candle and Christmas CD by a favorite artist and your favorite songs.

Add embellishments of special candies – such as red, green and silver Hershey Kisses, Candy Canes or individually wrapped mints!

Christmas memories I love most are of making fudge, caramels, and baking & frosting cut-out cookies with my family. And sampling during the process was an added bonus!

So … take a little time and you, too, can pass on traditional smells, tastes, and sounds of the season.

And may you, your friends, and family enjoy sharing the wonders of creating Sweet Traditions of Christmas!

Cheryl actually took time to put these very words to paper, rolled it up, secured with a pretty ribbon and included it in the gift basket. Great idea!


Cheryl also used a light-weight crafting material to line the basket and when everything was (beautifully) packed inside, rolled it up and tucked it in ...


She also knows how to make bows from regular ribbon and floral wire. (No worries, someday we'll show you how to do this; it's easy.) If you don't know how to make your own, go store-bought for this extra special touch on your basket.


Awesome right? Here's the aerial view.


This basket really packed a powerful punch and received many bids at the silent auction it was in. It helped to raise money for a great cause and will certainly make for a very special day of baking for the recipient. I love that Cheryl didn't just include gifts, she created an experience that will create special memories ... in an amazingly beautiful way.

Hopefully you'll find a few ideas you can use yourself this holiday season -- cheers!

Monday, October 24, 2011

Spooctacular Party

The big Halloween party for my son took place this weekend and I'm happy to report everyone survived (and by that I mostly mean the parents who stayed to help). I'm unhappy to report, however, that my camera is on the fritz so I'm unable to share all of the pictures. Booooooooooooo

That aside, we had a lot of fun!! Most of the kids were able to make it so we had a pretty hearty crew of 13 kids and a fair amount of adults too.

As we prepared for the day, my job was to work on decorations, spooky treats, game ideas and prizes. My husband was working on other activities to keep guests busy.

With a sunny weather report ahead of us, things were looking good for some of the things we planned -- including my husband's idea to have the kids help stuff a scare-a-crow. It sounded like a great idea until I went outside an hour shy of party time to find him frantically sawing and piecing together PVC pipes so he could make a "standing" scare-a-crow (which he had yet to purchase straw for). *head slap*

I threw my hands in the air and said, "can't we just have a normal scare-a-crow like everyone else???" Apparently not. Instead he just stuffed about eighty yards of burlap into my hands and said "I need a head!" "Need a head?" I said. "You can have forty heads with this much material; what the heck were you thinking.?" His reply ... "I've never needed a head before." Good grief.

Whatever, I had string cheese fingers to make so this conversation was going to have to wait for another day. Speaking of those, they were one of the simplest snacks I made ... and also one of the many I didn't photograph. But basically they looked a lot like this, mostly because it's where I got the idea from, found here. I believe they used green peppers for the fingernails; I sliced pieces of red grapes because I had them on hand.
Fingers Made Out of Cheese Halloween Recipe

I also used cupcake pics (because they have blunt ends instead of sharp) to make summer sausage and cheese kabobs as well as fruit kabobs that skewered grapes, pineapple slices and strawberries. The cute little pics I found made these snacks look extra special ... if only I had a picture to show you!! Ugh. You'll have to take my word for it.

I also doctored up a few black plastic bowls I had from previous parties to put out a few simple and healthy treats. I made a little sign for each using scrapbook paper and scrapbook stickers. One was labeled "spider eggs" (A.K.A. black olives) and the other "ghost babies" (known the rest of the year as yogurt covered raisins).

For an on-the-go snack, I filled small Halloween treat boxes with mixed popcorn: cheese, plain and caramel. This was a quick snack for busy parents too.

For something sweet, I made two ghoulish treats, including graveyard pudding cups with crushed Oreo dirt and white chocolate dipped ghouls. And the kid favorite ... white chocolate dipped donut holes turned eyeballs. A heavily requested treat!

I gave you a sneak peek at the beverages I prepared for the party, shown again below.

To make the mummy juice boxes I simply wrapped them with gauze or medical tape. A single roll yielded about six. As I wrapped, I let the tape gather in places to give it a more dimensional look. I also left a little gap where the eyes were placed. These were a huge hit!!

As you can see in this pic, it's not one of my parties if the water bottles don't get in on the fun too. I think it's such a simple way to incorporate your colors or theme, and it doesn't take a lot of time or money to do it. While I used a variety of Halloween colors to make several different versions, the ones shown above were definitely my favorite.

I simply cut scrapbook paper into strips, wrapped it around the bottle and used hot glue to keep them in place. The "Boo" used in this version was actually from a set of glittery shapes that were sold as confetti. And the small eyes were part of variety pack I bought for eyes on the juice boxes. The mini bottles provided a perfectly portioned and healthy beverage option for my little party goers.

As I alluded to in my scare-a-crow prelude, we planned a variety of activities to keep the kids busy including broom races. Participants mounted their brooms and dashed around witchy hats in the hopes of winning a prize from my cauldron.

Each party goer was also given their own pumpkin that included some pre-stocked goodies but also offered a place to keep all their treasures. I used a special paper punch and more of the glitter confetti to make name tags so pumpkins didn't get mixed up.


Though the weather was beautiful, I had planned some indoor games just in case -- including a pumpkin scavenger hunt that lead to some Halloween treasures. The clues were all written on foam pumpkins and those were hidden throughout the house. Many included "instructions" to up the fun factor. For example, one clue read, "Crawl like a kitty as low as you're able, now make our way under the table." In an instant I had 10 little kitties on their knees, meowing as they peeked under every table they could find. These kids were good!

The next clue (found under our dinning table) read, "snakes and toads and big brown mice, go to the place where we keep the ice." And like a flash of magic - you guessed it - I had a brood of rodents and snakes slithering and squeaking over to my refrigerator. This game was as fun to watch as it was to play!

The day concluded with some cookie decorating (to take home and save for later) and pizza for everyone. It was admittedly exhausting but it was fun all the same.

Here's to a safe and fun Halloween for all!

Thursday, October 20, 2011

Keepsake Holder

The other day I was at Michael's Craft Store and happened upon two clearance picture frames. Since they didn't have a back or mat, they likely came from the custom framing department. It's not difficult to find frames like this in any store that has a framing department; they usually sell these off the shelf versions in addition to the completely custom frames they build. And they often have previously used or built frames in clearance piles ... just need to find your store's stock.

I took the last two and snagged an artificial rose for each on my way out the door. Then it was just choosing between the handful of ideas I had for them. The frame was made of wood, very textured and had a somewhat worn and grayish look. Since the lines and style were clean and the frame chunky, it still seemed contemporary enough for my liking.


I thought it'd be cute to put a rose in one of the lower corners, keep the frame open and string a picture wire across it to hang keepsakes like photos, art, wedding invitations, birth announcements, anything special really. I also wanted to dress up some mini clothespins with scrapbook paper and Mod Podge; they would be used to hold the keepsake in place.

When getting started, I noticed one of the sides of the frame was scraped so to hide it, I pulled a few leaves off the roses and laid them out in the corner of the frame, concealing the scratch and then gluing them in place. Then I used a wire cutter to snip the head of the rose and hot glued that to the corner.

Next, I flipped the frame over, and screwed a framing "eye" (little screw with a loop) into the part of the frame that the glass would normally rest against. I used a measuring tape to place them approximately 2 1/4 inches from the top on each side. Then I simply twisted a picture hanging wire through the loops.

Here's what it looked like from the front.
That's just paper underneath it, mostly so you can see the wire.

Once that part was ready, I took some scrapbook paper and cut itty bitty pieces to cover each piece of the clothes pin. Regular glue would have worked but since I had it, I used Mod Podge to glue it to the wood and coat the top to give it a little sheen.


Once I had the longer parts covered (see pic), I cut pieces for the bottom sections too. (I didn't want the paper to go over the wire, causing it to crease over time.)

Once I made two of those, I just needed a picture to display and I was done! That's when I found this handsome little man who wanted to show you the finished product.
Though I did add a picture hanger to the back in case I found a spot on the wall, I think it makes a more unique display sitting on a table instead. I like using things in different ways and this fits the bill. I think it works better on a surface versus hanging on a wall. You be the judge.

Sunday, October 16, 2011

Santa's key


As I build my inventory of items for the upcoming craft fair, I wanted to cease the chance to create something that has been swirling around in my head for a couple months now.

It all started with a question from my son, "how does Santa get into our house?" I told him Santa usually comes down the chimney which lead to a host of other questions like "doesn't he burn his butt?" and "where is our chimney?" (a very good question as I don't actually know...). Then I resorted to something I think my parents once told me since our childhood homes didn't have fireplaces ... he uses a "magic" key.

And that lead me to this project.

I needed a few simple supplies which included ...
  • a plastic silver bracelet (purchased for $0.99 at Michael's craft store)
  • a swirly wooden "S" letter (purchased at Hobby Lobby for $1.99)
  • ribbon (had at home)
  • findings (a jewelry accessory, pic below)
  • jingle bells (left over from a previous project)
  • silver key ornament (on sale for $1.20 at Hobby Lobby)
And I used some left over paint from the Jingle All the Way blocks I shared earlier this week.

The first step was to use the metallic spray paint to cover all sides of the "S."


While that was drying, I got out the rest of the supplies.
Including the findings I mentioned earlier. I bought a pack of these jewelry clasps a couple years ago and they last forever.

First I cut the thick ribbon into a thin, 1/4 inch thick strip. Then I strung it through the three jingle bells, tied a knot, and tied that to the bracelet. I then used the ends of that same ribbon to tie the "S" to the jingle bells and bracelet. It looked like this:


Next I added a finding to the top of the key, and I used the thicker piece of ribbon (leftover from the smaller one I cut for the bells) to string it through the circle, tying that to the bottom of the "S" and made a bow. And presto, that's it!


Now it's set to hang and ready for Santa ... just in case he has a few two many cookies and a chimney shimmy doesn't look promising by the time he gets to our house. (I may also add a mini clothes pin to the back of the bells in case the kids have any special notes they want to share with the big guy when he arrives!)

How does Santa get in your house?

Tuesday, October 11, 2011

Jingle Bells


I know it's a little early to start thinking about Christmas, but after a few friends suggested I try selling some of my projects, I decided I'd maybe give a craft fair a go. While that isn't something I'd normally be into, I thought it could be fun to see if someone would actually be interested in the things I make. Fortunately, my mom agreed to do it with me so it's a little joint venture for the two of us. I think it might be fun!

Since the craft fair is in early November, I'm guessing folks will be on the lookout for Christmas gifts and decor. With hopes I'm right, I've started making more wreaths, and decorating other goods I plan to sell.

Meanwhile, there's been some extra wood laying around in our garage and I've been wondering what I could do with it. It's big, and thick and could probably stand up on it's own. That got me thinking it'd be cool to put a cute saying on it, maybe something Christmas-y??

But then there's the problem of my handwriting which I'm pretty sure was nice at some point in time. But now appalling would be a more appropriate word to describe it. Even my husband shakes his head and often asks me to interpret the notes I've left for him. If I didn't put pictures of my kids on my Christmas cards, people probably wouldn't know who they were from.

So ... I started looking at stores for stencils but they really didn't come in anything I wanted. And the thought of spelling something out letter by letter requires a smidge more time than I wanted to give. This lead me to etsy.com to find someone who was already doing stencils - custom.

I happened across a shop called Sam's Town Designs, owned by a lovely lady named Tracey. She worked with me to do three different designs, and I got to choose from a variety of fonts, laid out in proofs so I could see what I was buying before the deal was done. I got three sayings in all for only $20, an excellent price in my opinion.

The one I used in this project was "jingle all the way." Who doesn't love that song? (You're singing it now aren't you???)

I took the stencils as they were and I marked off the right height that I needed on the scrap piece of wood that I mentioned earlier. Then I used a t-square to mark off the lines to make sure it was straight (as I'm typing this my husband says the use of this was extreme as it's typically used for drywall ... whatever).


I planned to use three different pieces so the person who (hopefully) buys them can move them around (stack them vertically, horizontally, however they'd like). Then, I got to use the saw of all saws. It's a radial arm saw and it means business. Check this out.


I know, right? It's massive, and scary and intimidating. And probably overkill.

But that's neither here nor there. Okay, so once the pieces were cut I used the new sander my mom bought for me to sand down the edges (who knew I'd someday think a sander was an awesome gift??). If you've been following this blog, let me say this one was "electric, definitely electric."

A few minutes later they were ready for some color. I gave them a once over with a pretty metallic spray paint and let them dry.


Then I laid the stencils down and used a sponge brush to dab white paint over the stencil, trying to be careful not to use too much as I didn't want it to bleed underneath.


When I was done, they looked like this. Pretty.

I liked the simplicity of them but things tend to get kicked up a notch around the holidays so I decided to add a little extra detail to the small "all" block. I took one of those small Christmas decorations usually used in wreaths, fortunate enough to find one in a similar gold/silvery color.
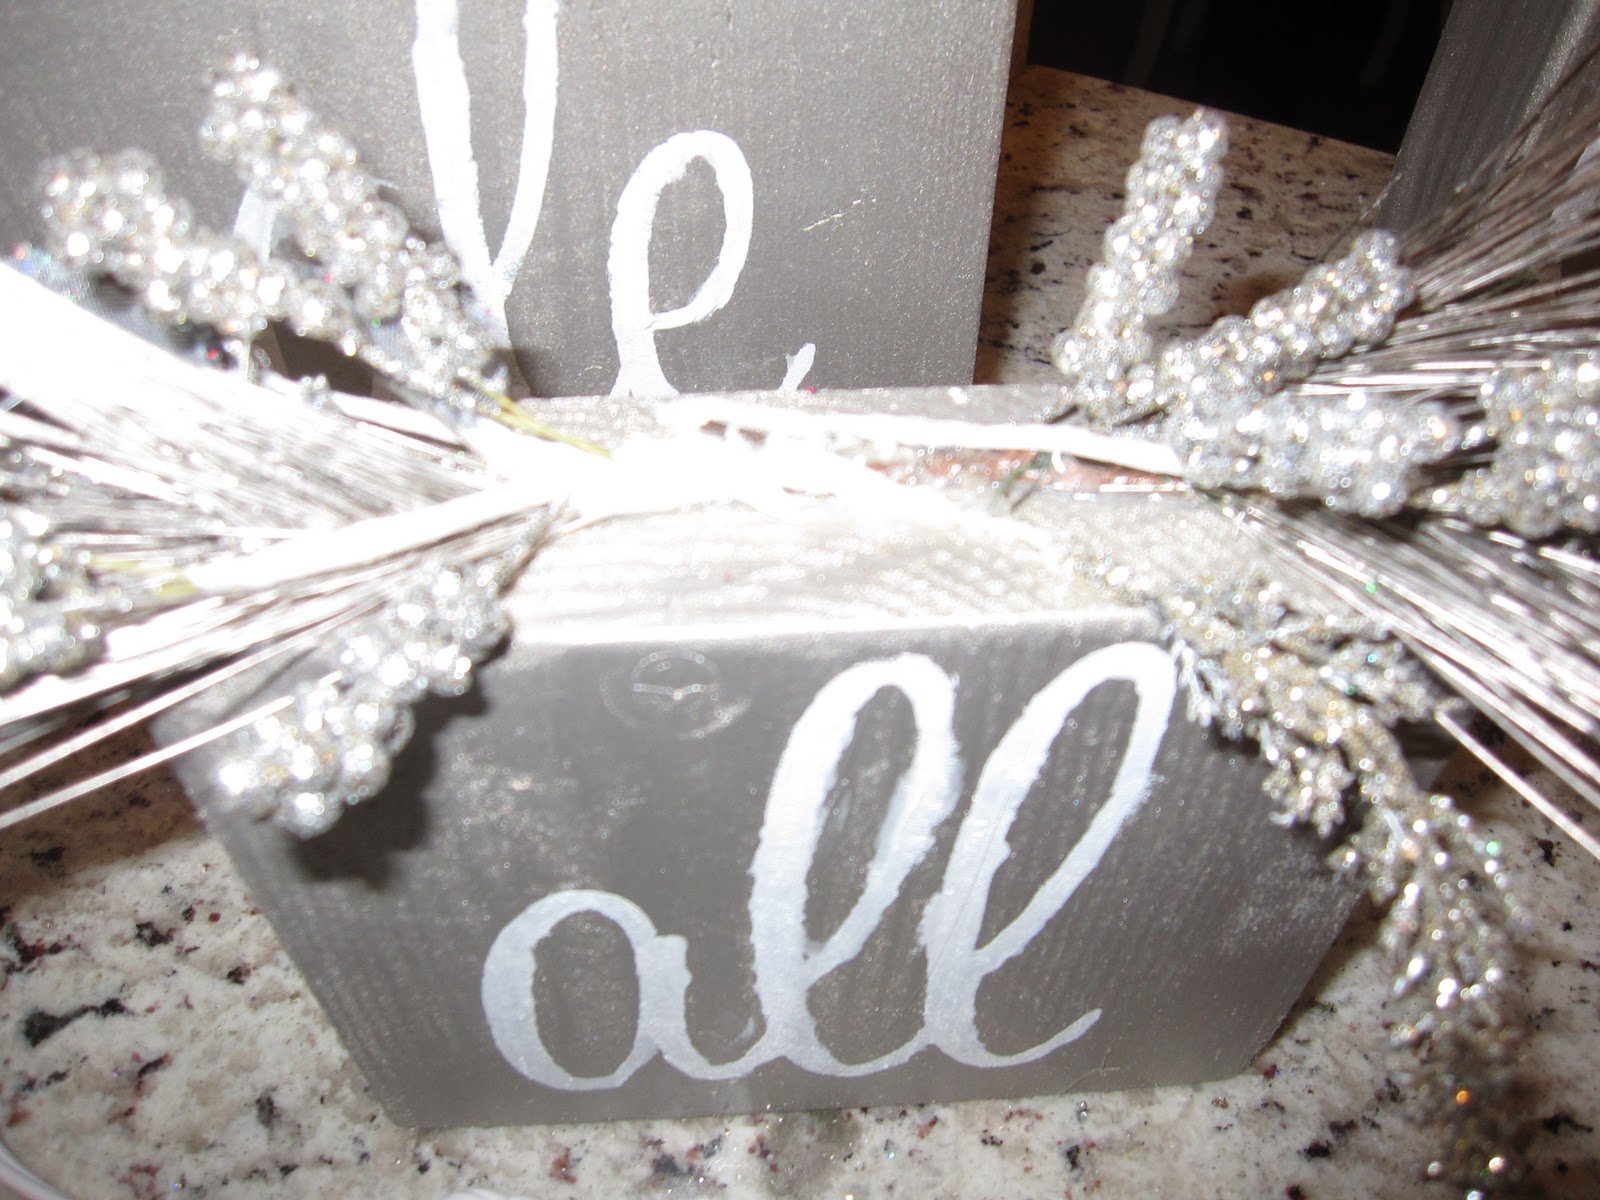
I didn't need the full thing in one big clump so I peeled the pieces apart and used hot glue to position each individual piece into place. When I was done with that, the middle was a little ugly so I used some extra silver leaves to conceal the stems.

When the ugliest part was hidden, I cut a thin piece of ribbon to string together some metallic brown and green jingle bells, tied a knot and hot glued that to the middle.

And presto! Done.


They actually turned out a bit better than they photographed so I plan to make a few of them including one for my mantel. It was a fun project and easy to do with the help of Ms. Tracey's awesome stencils!

More stencil projects to come ...